No products in the cart.
Troubleshooting WordPress
How to Fix Image Upload Issue in WordPress?
Common WordPress Image Upload Errors and How to Fix Them
Nothing is more frustrating than having your workflow interrupted by a vague error message. Here are five ways to fix upload errors, so you can get back to adding striking visuals to your website.
1. Rename, Resize, and Re-Upload the Image
If you’re only encountering issues with a specific image, you can start by taking a look at the file’s name. If you’re using special characters ($, *, &, #) or accent letters (ñ, á, é), these can cause issues with the WordPress uploader.
The image may also be too large — both in terms of dimensions and file size. You can change an image’s dimensions using your favorite editing program. If you’re trying to upload a particularly high-resolution graphic

If you regularly encounter issues due to file size, then WordPress’ limit may be set too low. You can raise the limit by adding code to your site’s php.ini file:
upload_max_filesize = 128M

post_max_size = 128M

max_execution_time = 300
If your site doesn’t already contain a php.ini file, you can create it inside the PHP folder for the current PHP version your site is running. Then, simply add the above code at the end of the file.
2. Increase the Memory Limit
When you try to upload an image, you may encounter the WordPress HTTP error. This can sometimes be caused by low server resources or unusual traffic. For this reason, it’s always worth waiting a few minutes and then attempting to re-upload the image.
If the issue doesn’t resolve itself, then you may be exceeding the WordPress memory limit. You can increase the amount of memory that PHP has to use on your server by connecting to your site over SFTP.
Next, open your wp-config file. You can then add the following, which will increase the limit to 256MB:
define( 'WP_MEMORY_LIMIT', '256M' );
If this doesn’t resolve your issue, your problem may be related to threading. WordPress processes images using either the GD Library or Imagick module, depending on which one is available.
Imagick was designed to use multiple threads in order to accelerate image processing. However, some shared hosting providers limit Imagick’s ability to use multiple threads, which can result in an HTTP error. You can often resolve this issue by adding the following to your .htaccess file:
SetEnv MAGICK_THREAD_LIMIT 1.
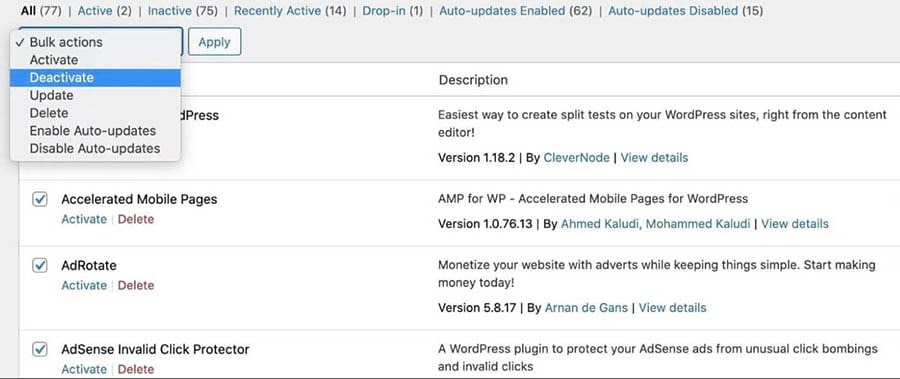
3. Deactivate Your Plugins
Third-party software can sometimes interfere with your image uploads. If you’re using any plugins, it’s always worth deactivating each one in turn and testing to see whether this resolves your image upload issue.
If a plugin is to blame, you can double-check to make sure you’re running the latest version. If you’ve fallen behind on your updates, you may be struggling with a problem that’s already been addressed.
If you’re running the latest version, we recommend contacting the plugin’s developer to ensure that they’re aware of the issue. This can also be an opportunity to ask whether they plan to solve this problem in their next release. If the plugin is critical to your site and no fix is forthcoming, it may be time to look for an alternative solution.
4. Clear the Cache
If you’re using a caching plugin, then clearing the cache may be enough to resolve your image upload errors. It’s important to note, however, that it is incredibly rare for the cache to prevent a file upload, so we’re including this fix out of an abundance of caution.
If you think that caching could be causing the error, the steps you take will depend on your chosen caching solution.
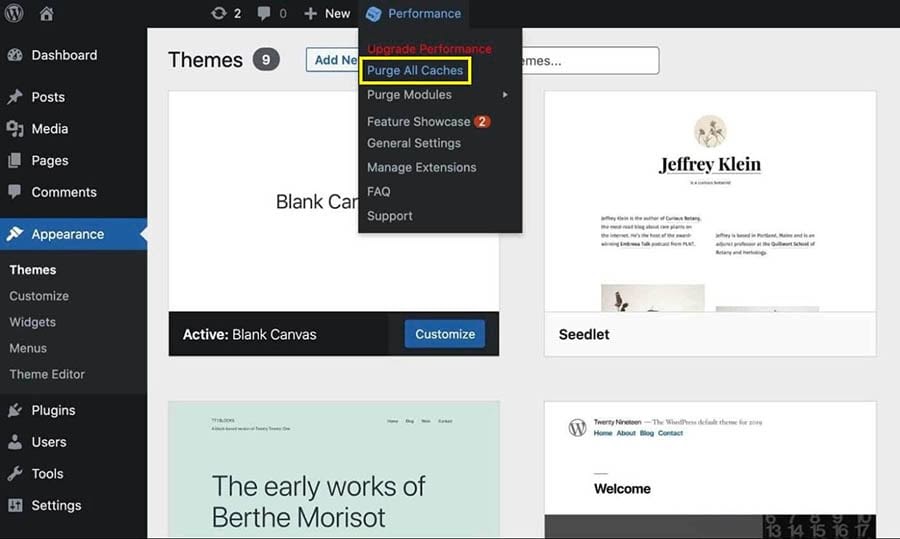
If you’re unsure how to clear the cache in your specific tool, the plugin’s Settings menu is often a good place to start. You can also check the developer’s official documentation for more details.
5. Try the Browser Uploader
If you’ve tried all of the above fixes and are still encountering problems, you can use your browser’s built-in file uploader. Unlike WordPress’ image uploader, the browser uploader doesn’t support multiple file selection or drag and drop. However, it can be a useful workaround when you need to upload an image quickly.
To access the native image uploader, navigate to Media > Add New. You can then select the browser uploader link.
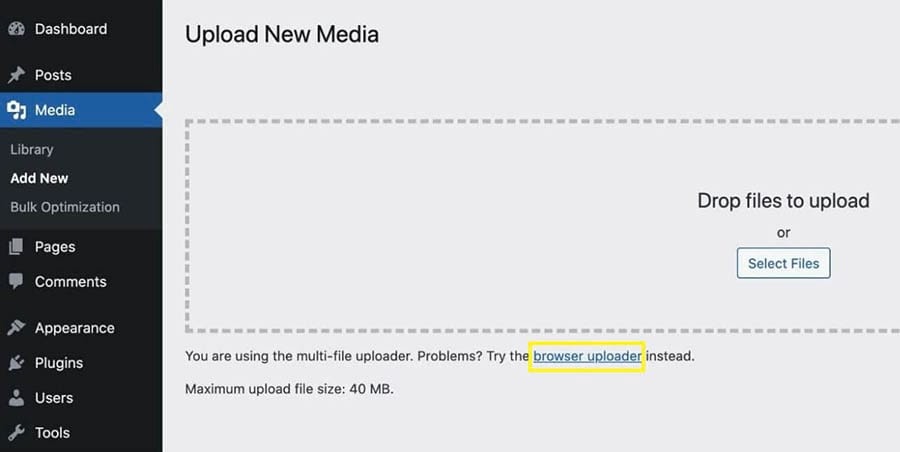
Next, click on Choose file. This launches the familiar file selection dialog, where you can upload the image as normal. If this workaround succeeds, we recommend trying to upload an image using WordPress’ standard image uploader afterward, to see whether this has resolved your problem.